Knowby
Customer Demo - Test
How to Tile an Outdoor Splashback Bunnings Warehouse
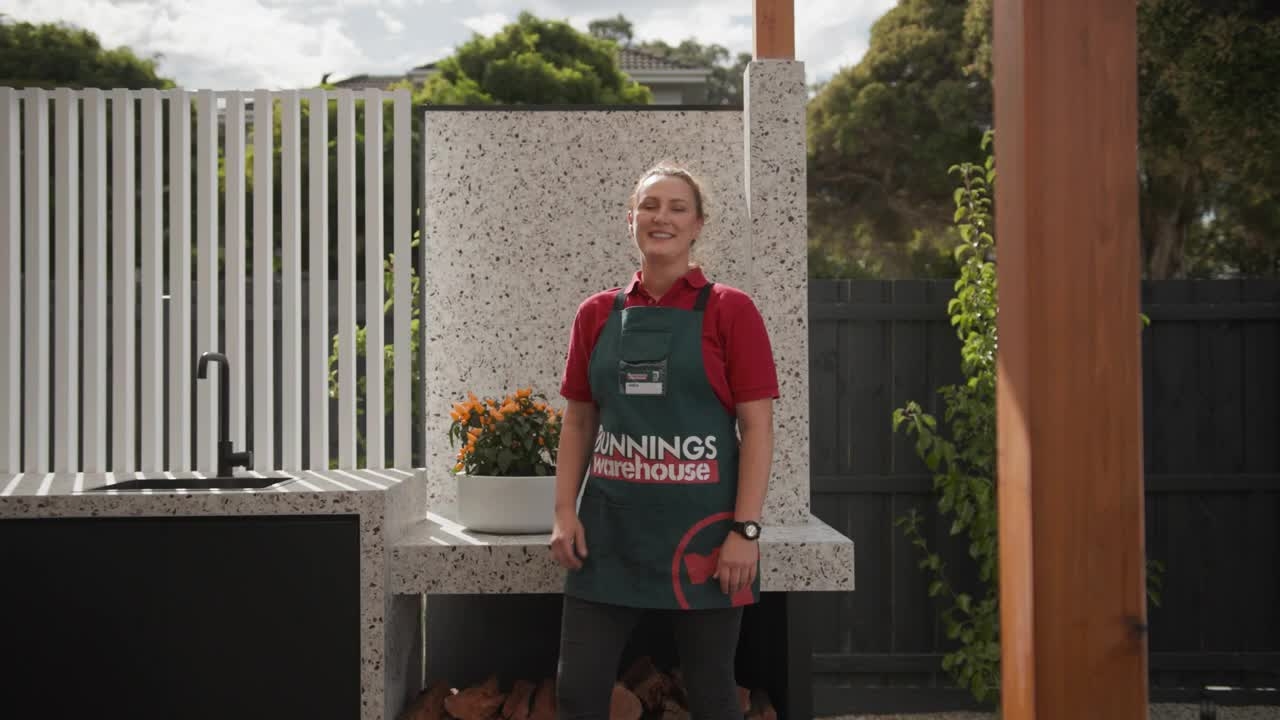
This is everything you need to know to tile an outdoor splashback. Hey, my name is Marja.
This is everything you need to know to tile an outdoor splashback. Hey, my name is Marja.
1
Step 1 of 28This is everything you need to know to tile an outdoor splashback. Hey, my name is Marja.
2
Step 2 of 28
Drag to rotate
3
Step 3 of 285
Step 5 of 286
Step 6 of 28Having a decorative tiled splashback in your outdoor alfresco area not only adds personality, it also adds to the theme that you're going for.
7
Step 7 of 28From patterned to subway to mosaic tiles, the choices are endless.
8
Step 8 of 28Let's get into it. Before you begin, make sure that the base you're applying your splashback to is fire resistant.
9
Step 9 of 28Here we have cement sheeting, which is tough, durable and most importantly fire resistant.
10
Step 10 of 28Next, apply a primer to the surface. This will help bond the sheeting and the tile adhesive.
11
Step 11 of 28Once your surface is evenly primed, you can leave it to dry.
12
Step 12 of 28Depending on your chosen tile, you'll need to work out any patterns or mosaic features on a flat surface before applying them to the wall.
13
Step 13 of 28This will not only make the application process easier, but you'll also be able to determine whether or not you need to cut any tiles to fit the space you're applying them to.
14
Step 14 of 28Now that you know the kind of tile you're going to be using, it's time to determine how many tiles you're going to need.
15
Step 15 of 28To figure out the square meter edge of your splashback, measure the length by the width of the area being tiled.
16
Step 16 of 28Make sure that you purchase 10% more tiles than you think you need to cover for any breakages and offcuts.
17
Step 17 of 28Using the level, follow the seam of the base tile and mark a line.
18
Step 18 of 28If need be, you may need to cut a tile. If that's the case, simply place your tile into the tile cutter, run the scorer back and forth a couple of times, then press down hard to cut the tile.
19
Step 19 of 28Make sure your tile cutter is an appropriate size based on the size of your tiles.
20
Step 20 of 28Using a notch trowel, apply the tile adhesive from the bottom, working your way up the wall, placing the tiles one by one.
21
Step 21 of 28The size between the gaps will be determined by the size and thickness of your tile and the thickness of your tile adhesive.
22
Step 22 of 28Ensure your gaps are equal by using a cross spacer between each tile.
23
Step 23 of 28From here, we need to apply the grout. Mix the product in a bucket with some water, following the instructions on the pack.
24
Step 24 of 28Using a grout float, push the grout between the gaps of the tiles on an angle, ensuring there are no air bubbles.
25
Step 25 of 28Once you're done, use a sponge to wash the remaining grout of the tiles and leave this to dry overnight.
26
Step 26 of 28To finish up our splashback, we've added a trim around the edges for that sleek look.
27
Step 27 of 28Just cut yours to size, glue down and leave to dry.
28
Step 28 of 28And there you have it, a tiled outdoor splashback. If you enjoyed this video, don't forget to like and subscribe for more tips and tricks.