Knowby
Customer Demo - Test
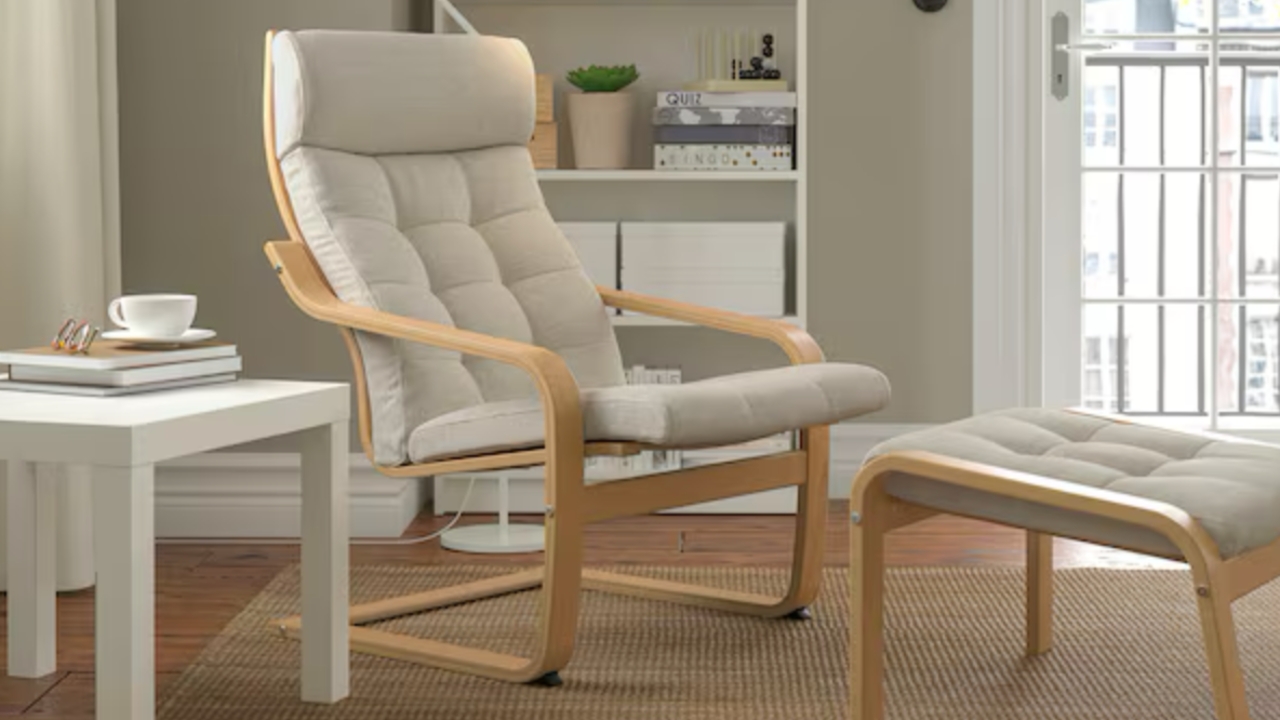
IKEA Poang Chair Assembly Guide
Effortlessly assemble your IKEA Poang Chair with our quick and easy guide. Comfort made simple – enjoy your stylish chair in no time!
Effortlessly assemble your IKEA Poang Chair with our quick and easy guide. Comfort made simple – enjoy your stylish chair in no time!
1
Step 1 of 49First thing you want to do is, here's all the parts, take it out of the box, there's not too many parts.
2
Step 2 of 49And what we're going to do is we're going to find this side and we're going to find the slat. So make sure the second slat is the Velcro one and that they curve, you know, kind of up towards you.
3
Step 3 of 49So here's the one piece here, make sure that the bottom piece is correctly aligned.
4
Step 4 of 49So basically, the screw sticking out of the bottom, then go ahead and put the slats in.
5
Step 5 of 49So like I said, the Velcro should be the second one from the top and it should be curving towards you.
6
Step 6 of 49You know, curving with the curve of the actual chair. Now find the other side and go ahead and line those up and put those in as well.
7
Step 7 of 49Once we've got that lined up, then what we're going to do is we're going to screw these in.
8
Step 8 of 49So there's eight screws and note that these are the skinny ones. So there's some thick and skinny ones that look really similar.
9
Step 9 of 49So make sure it's the skinny ones. So that's the ones on the left here. They're really hard to tell.
10
Step 10 of 49But yeah, the skinny ones are the ones we're going to line up to put these in. So what I did is I put all eight in.
11
Step 11 of 49I just started all of them because the instructions say to not use a drill, but I'm going to do it anyways.
12
Step 12 of 49I just have it on a really low setting so it doesn't damage anything. Once you get all eight started, then I just use my drill to tighten them up.
13
Step 13 of 49That way it's just faster. Go ahead and do that on all eight screws here.
14
Step 14 of 49And then what we want to do is we want to attach the bottom piece.
15
Step 15 of 49So it's two screws and now these are the thicker ones. So be careful of that.
16
Step 16 of 49You want two thicker ones. So go ahead and line that up. Get that screw started.
17
Step 17 of 49And then go ahead and do the other one as well. If you want to put it down at this point, you can.
18
Step 18 of 49It might make this screw a little bit easier. Once you get those started, then what I did is I put it down and I'm going to use my drill to tighten those up.
19
Step 19 of 49Once we've done that, then go ahead and put these slats in the bottom.
20
Step 20 of 49And this is just going to give support to the actual seat. So note that they curve up.
21
Step 21 of 49And these again are thicker screws. So go ahead and put the slats in.
22
Step 22 of 49Get those lined up. And then go ahead and put the four screws in.
23
Step 23 of 49So three of them will be easy because there's not tension on the actual seat here.
24
Step 24 of 49So go ahead and get three of them started. And then what I did for the fourth one, since there was tension, it was just me, is I used my shoulder here to brace the chair pool with my left hand.
25
Step 25 of 49And then I started it with my right hand. That way it would line up. Because if you don't, then there's going to be too much tension and it's not going to line up.
26
Step 26 of 49Then go ahead and screw them in tight after you started them. And then take this screw here and this washer and that peg.
27
Step 27 of 49And we're going to line this up and put the legs on. So there's two different screws that look kind of the same too, but this one's a little bit easier because we're just going to use a shorter one on the left and the peg and the washer.
28
Step 28 of 49So there is a left and a right leg. So this is the left leg. So note the orientation.
29
Step 29 of 49You see the holes on the side here. That top hole is where you want to line up with the peg at the end of the seat.
30
Step 30 of 49So put the peg in, line up that hole and put that in place. And then you can screw in the top piece with the washer.
31
Step 31 of 49So put that washer on with the screw in there. Get that started.
32
Step 32 of 49And then go ahead and use your drill and tighten it up. Next, what we're going to do is we're going to put these pieces on and these are support pieces.
33
Step 33 of 49So note that the holes stick out and I guess to the back.
34
Step 34 of 49So that's going to be important. And these are the longer screws this time, not the shorter ones.
35
Step 35 of 49Put that little nut at the bottom. So holes sticking outward.
36
Step 36 of 49Go ahead and put those in. And then go ahead and do the other one as well.
37
Step 37 of 49Notice that the holes are sticking back. And then go ahead and line up your peg again if you messed it up like me.
38
Step 38 of 49And then go ahead and put this nut in there.
39
Step 39 of 49Make sure that it's, you know, able to be able to screw in with the screw here.
40
Step 40 of 49Then you use a flathead to hold it in place while you start this. Once you start it, you don't need the flathead anymore.
41
Step 41 of 49Go ahead and do the same thing on the other side. Start it. And then you can use your drill to tighten it up.
42
Step 42 of 49Once we've done that, now flip the chair to the other side.
43
Step 43 of 49And we're literally going to do the exact same thing. So take your peg and your shorter screw and washer.
44
Step 44 of 49Line that all up. And put the two support, you know, posts in place.
45
Step 45 of 49Lined up with the peg there. And then screw in that top piece with the washer.
46
Step 46 of 49And then put the other side. These are the longer screws with the little nuts at the bottom.
47
Step 47 of 49So put those two in. Same thing. Get them started first. And then use your drill.
48
Step 48 of 49And then you're basically done. Put on your cushion. So the Velcro on the top on the second slat there.
49
Step 49 of 49And that's basically it. You put your IKEA Polong chair together.